Last time, we established a foundational architecture for composable and self-contained widgets. This week, we will convert that prototype into a data-driven structure.
To enhance the development experience, we will integrate live reload functionality by utilizing the FileWatcher library.
Furthermore, we will implement an automated registration system using Sourcery to ensure that newly added widgets are immediately available for use within the project.
Live reloading data driven widgets
Driving widgets via data
Previously, widgets were independent entities registered once and always available for use.
However, we are now transitioning to a data-driven approach for widgets. To facilitate this, we will begin by introducing a Data definition within our widgets in place of the current Configuration.
protocol WidgetData: Hashable, Decodable {}

protocol Widget {
  // other code ...
  associatedtype Data: WidgetData
  var data: Data { get }
  init(data: Data)
}
To further support the data-driven approach, we have also dropped the identifier of our widgets id and instead introduced a new property called kind.
This change will enable us to key our decoders based on the kind property. Additionally, we can utilize the default implementation for this property to streamline the process.
extension Widget {
    static var kind: WidgetKind {
        String(describing: Self.self).replacingOccurrences(of: "Widget", with: "").lowercased()
    }
}
Which means our TimerWidget kind is timer.
To accommodate those changes, we need to tweak our AnyWidget implementation by dropping Configuration dependency:
init<WidgetType>(_ widget: WidgetType) where WidgetType: Widget {
  self.widget = widget
  self.kind = WidgetType.kind
  self.make = {
      AnyView(widget.make())
  }
}
Setting up a data pipeline
To enhance the functionality of our data-driven widgets, we will be implementing the ability to load the widgets from a file configuration. To facilitate this, we will be utilizing JSON as the file format as it is compatible with Apple’s Decodable protocol.
To support this feature, each widget will require a decoder. The decoder’s function is to take in Data and produce an AnyWidget. To simplify the implementation, we will define the decoder in the following way:
typealias WidgetDecoder = (Data) throws -> AnyWidget
// in WidgetRegistry
init() {
  let decoder = JSONDecoder()
  widgetDecoders[TimerWidget.kind] = { data in
  let data = try decoder.decode(TimerWidget.Data.self, from: data)
    return AnyWidget(TimerWidget(data: data))
  }
}
Decoding container with dynamic-type support
We are going to hold our widgets in the following structure:
{
  "kind": "widgetKind",
  "payload": {
    // widget specific data
  }
}
To be able to decode this, let’s define a decoding container:
ℹ️
To keep things simple, I have decided to abandon the use of WidgetFactory and any WidgetFactory implementation we established in part 1 of the series. Instead, we will use the AnyWidget directly. This approach allows us to eliminate unnecessary layers and streamline the process.
struct WidgetContainer: Decodable {
  enum CodingKeys: CodingKey {
    case kind
    case payload
  }

  // We define a decoder holding userInfo key for our Codable path
  static let decodersKey = CodingUserInfoKey(rawValue: "decoders")!
  struct DecodersNotFound: Error {}

  let widget: AnyWidget

  init(from decoder: Decoder) throws {
    // load decoders from the userInfo
    guard let decoders = decoder.userInfo[Self.decodersKey] as? [String: WidgetDecoder] else {
      throw DecodersNotFound()
    }

    let container = try decoder.container(keyedBy: CodingKeys.self)
    let kind = try container.decode(String.self, forKey: .kind)
    guard let factory = decoders[kind] else {
      throw UnknownWidget(kind: kind)
    }
    self.widget = try factory(container)
  }
}
To support the inclusion of arbitrary Widget types, we must implement dynamic decoding support for them. To achieve this, instead of utilizing statics/singletons, we will leverage the Codable userInfo configuration to configure our Codable logic.
When defining the decoding function, we will set up the userInfo by retrieving the current value from the WidgetRegistry. This approach allows us to effectively handle a diverse range of Widget types and ensure compatibility with our data-driven approach.
func decode(from data: Data) -> [AnyWidget] {
  do {
    let decoder = JSONDecoder()
    decoder.userInfo[WidgetContainer.decodersKey] = self.widgetDecoders
    let containers = try decoder.decode([WidgetContainer].self, from: data)
    return containers.map { $0.widget }
  } catch {
    print("Failed to decode \(error)")
    return []
  }
}
You could now point this at some sample file like:
[
  {
    "kind": "timer",
    "payload": {
      "date": 4000000000
    }
  },
  {
    "kind": "text",
    "payload": {
      "text": "He2lo, 2222world!"
    }
  }
]
We can load it by throwing the following into WidgetRegistry initializer:
guard let url = Bundle.main.url(forResource: "Widgets", withExtension: "json") else {
  return
}

let data = try? Data(contentsOf: url)
widgets = decode(from: data)
Live reloading
Now that we have established the decoding process for our Widgets, we will proceed to implement live reloading functionality by utilizing my FileWatcher library.
With the pipeline that we have established, the integration of live reloading is a straightforward process. We can accomplish this by adding the following block of code.
try! fw.start { [unowned self] update in
  switch update {
  self.counter += 1
  case .noChanges:
      break
  case let .updated(data: newData):
      self.widgets = self.decode(from: newData)
  }
}
From my past experience with live reloads, it’s convenient to have a visual indication when something has been reloaded in case no visual changes occur.
We will add a simple visual counter to the system to provide this feedback. This will provide an easy way to confirm that the live reload has been successful and ensure that the development process is more efficient.
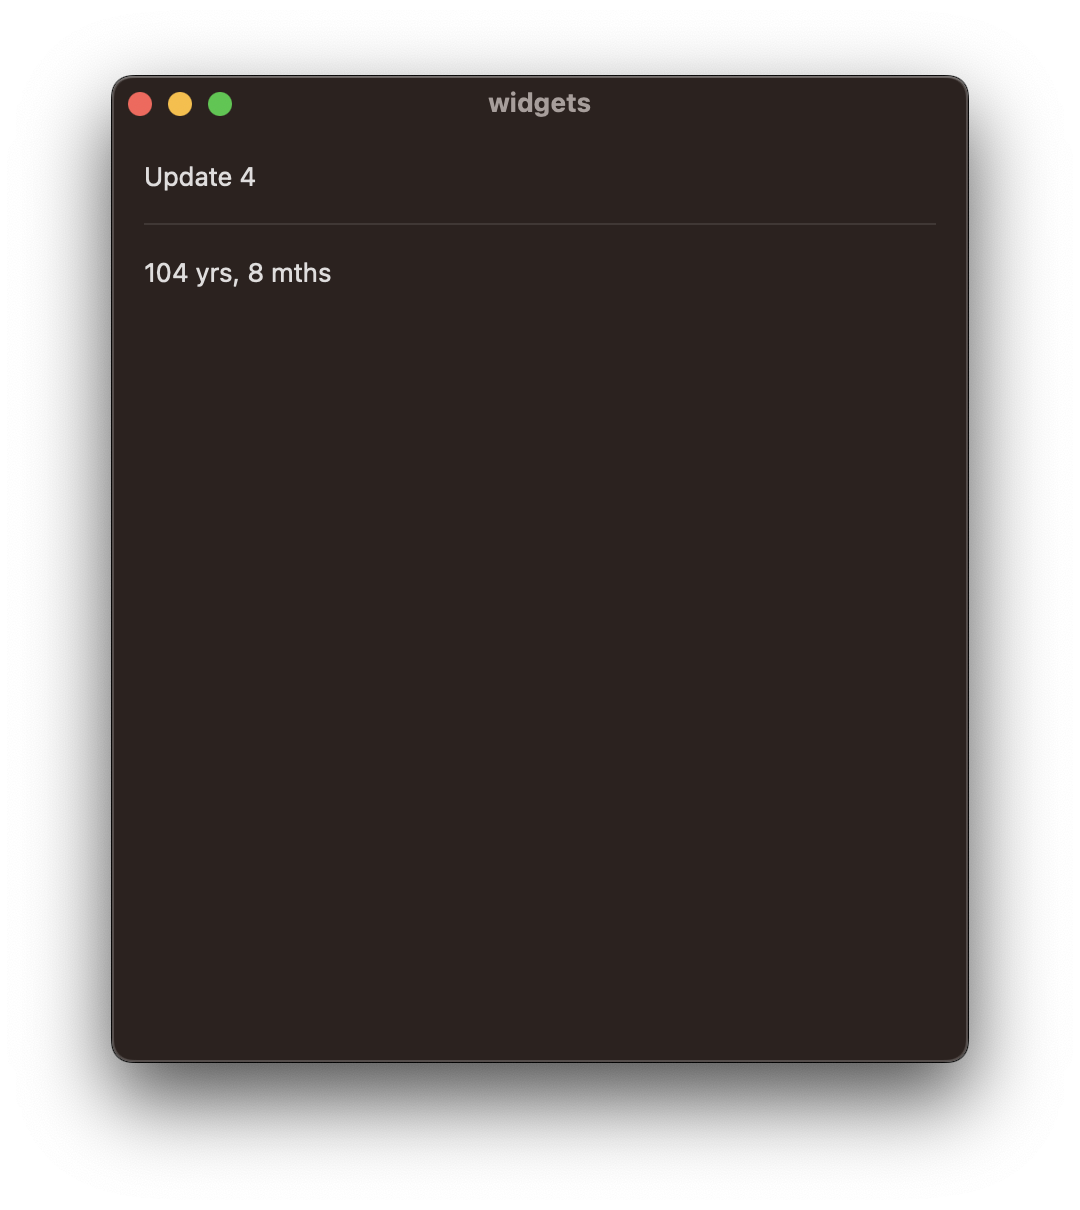 Visual update counter
Adding Text widget and automating things
With the new setup, the simplest widget, like a Text one, can be added as follows:
struct TextWidget: Widget {
  struct Data: WidgetData {
    var text: String
  }

  func make() -> some View {
    Text(data.text)
  }

  var data: Data
}
The only remaining thing is to add it to the WidgetRegistry:
widgetDecoders[TextWidget.kind] = { decoder in
  let data = try decoder.decode(TextWidget.Data.self, forKey: .payload)
  return AnyWidget(TextWidget(data: data))
}
Registering TextWidget As you can observe, this pattern is identical to the one we previously implemented. As a result, we can generalize this approach to simplify the process and ensure consistency across the system.
extension Widget {
  static func registerDecoder(in decoders: inout [String: WidgetRegistry.WidgetDecoder]) {
    decoders[Self.kind] = { decoder in
      let data = try decoder.decode(Self.Data.self, forKey: .payload)
      return AnyWidget(Self(data: data))
    }
  }
}
Cleaning up registration pattern Now all widgets can be registered as one-liners:
TimerWidget.registerDecoder(in: &widgetDecoders)
TextWidget.registerDecoder(in: &widgetDecoders)If we want to automate this further, we could add a Sourcery template:
func registerAllWidgetDecoders(in decoders: inout [String: WidgetRegistry.WidgetDecoder]) {
    {% for type in types.all|implements:"Widget" %}
    {{ type.name }}.registerDecoder(in: &decoders)
    {% endfor %}
}
Sourcery template for auto registration Sourcery will then generate the required iteration over all possible widgets.
ℹ️
This fundamental pattern is commonly used by many large-scale applications such as Airbnb. The next article in this series will build upon this pattern and further explore Sourcery’s utilization.
Then our initializer can call this generated function:
registerAllWidgetDecoders(in: &widgetDecoders)
Conclusion
Final source code for this article:
In this article, we successfully transformed our component system into a data-driven one. We enabled an efficient development workflow by incorporating live reloading and simplified the setup process by using Sourcery to auto-register the widgets
Whenever you want to add or remove a particular Widget into our system, you can remove/add conformance to Widget, and Sourcery will make sure to either make it available or not, avoiding any merge conflicts.
The next article in the series will demonstrate how to leverage Sourcery to create a help widget that will feature documentation about other widgets and additional automation.