You’ve probably seen Paper, the app is pretty cool and the drawings look really nice and smooth.
I’m working on my personal app that needs something similar, and after doing some research I’ve not seen a proper solution.
So I wrote one.
Analyzing
If you play with first Paper tool, you will notice few key points that we need to duplicate:
- Even if you draw fast, the lines will be bend by some kind of splines.
- Lines width is depended on the speed of touches.
- Lines are very smooth, no hard edges are visible.
I will explain my solution in a few steps that allow you to go from this:
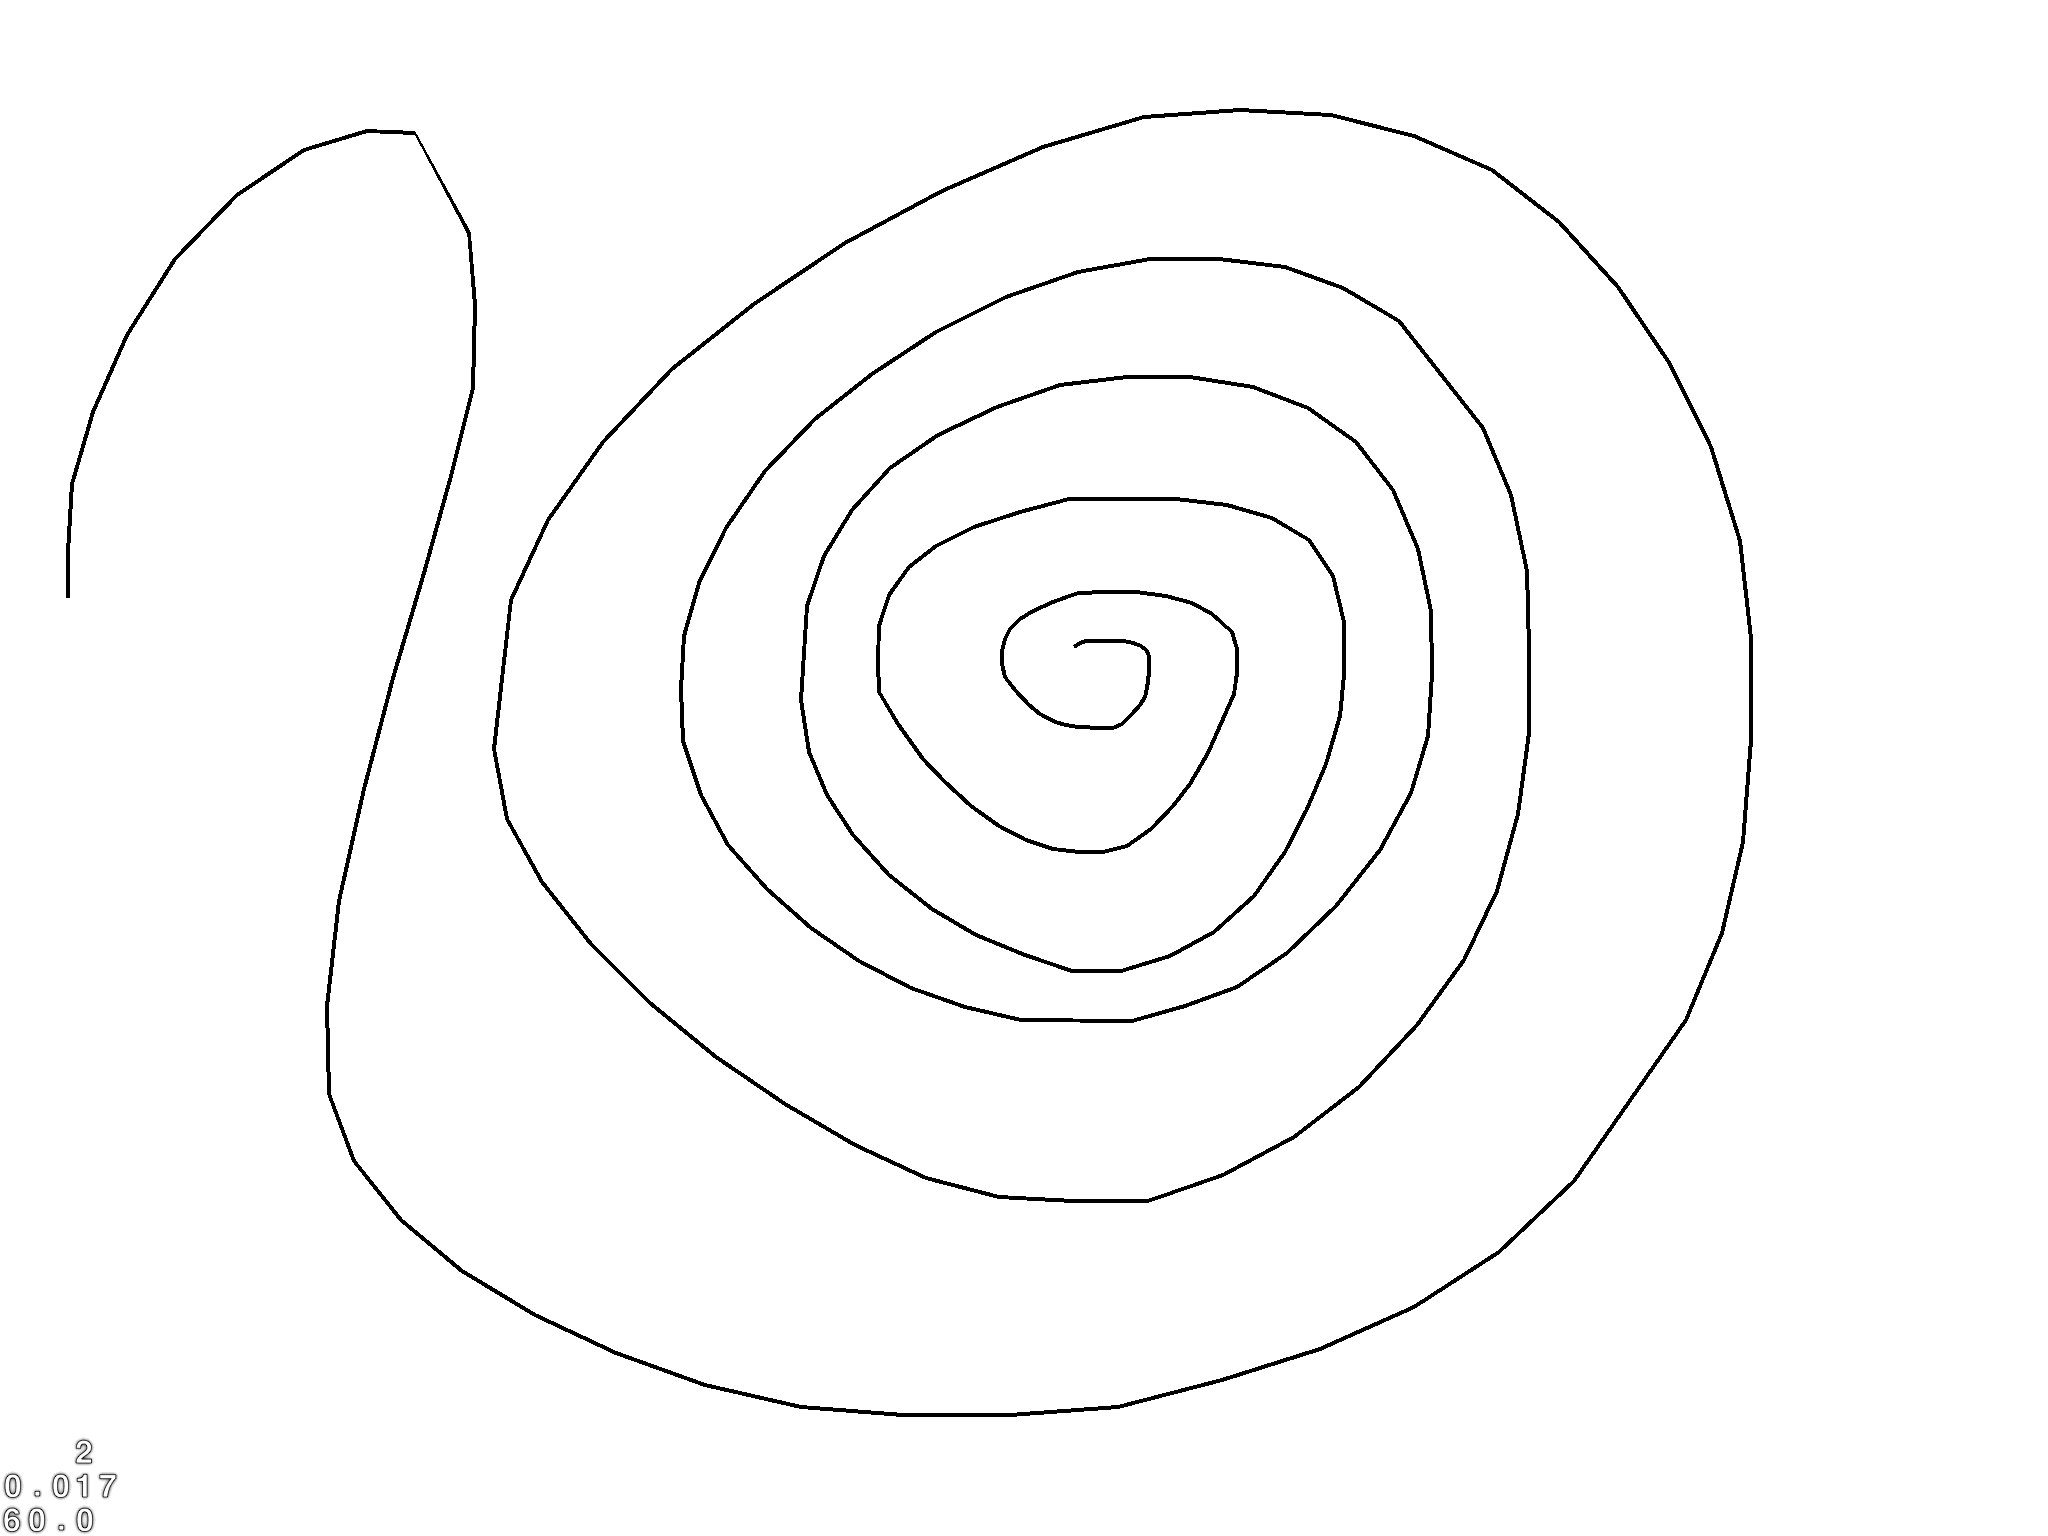
to this:
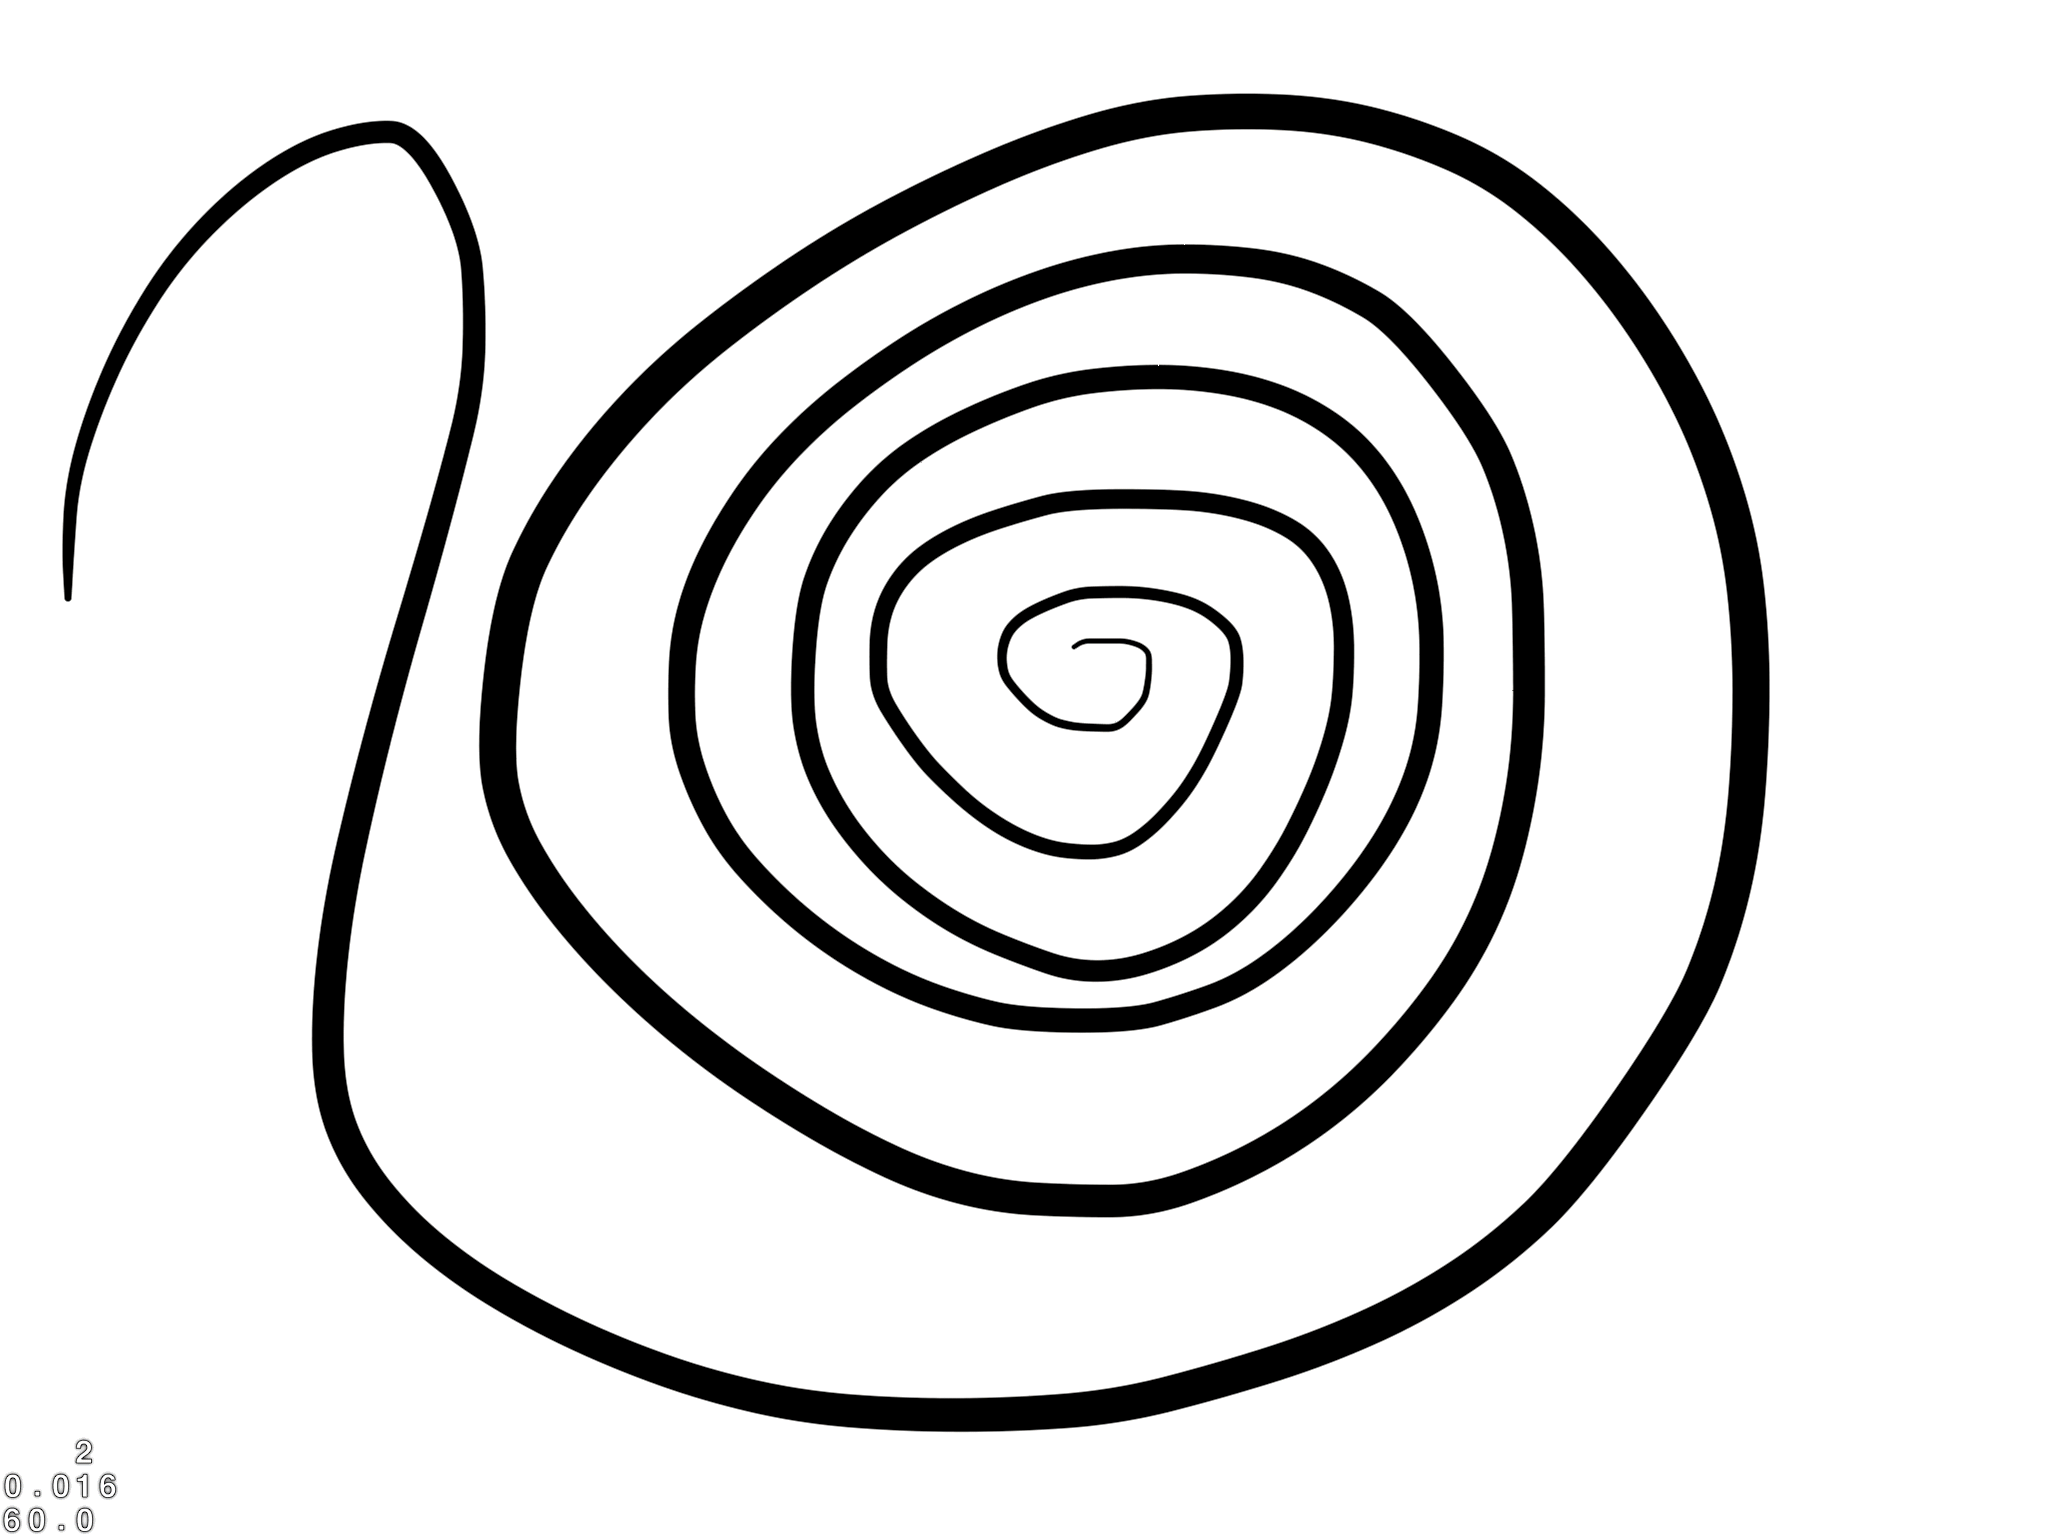 Look at the images in full resolution to really see how big the difference is…
Let’s get to work.
Connecting the dots
To draw anything we first need to collect touches positions for drawing. I’ve used UIPanGestureRecognizer to collect them, to have them working with cocos2d I just included my category. After you have some points we need to render them, and since we will be needing line segments that can start at arbitrary width and end at totally different one, we need to make our own rendering. To render the lines with variable width at both ends of a single line segment we need to draw them by using triangles, this is how we can do that:
 As you can see here:
- p0, p1 are the line segment begin / end points.
- perp is perpendicular to segment direction ( -y, x of direction ), if we normalize it we can use it to create ABCD coordinates, simply by multiplying it by our desired width and either adding or subtracting from our base points p0, p1
- ABC, BCD will be our triangles.
- both line start and end can have arbitrary width.
We need to calculate ABCD coordinates, we have p0, p1 and start width and end width. In code we do this as follows:
CGPoint dir = ccpSub(curPoint, prevPoint);CGPoint perpendicular = ccpNormalize(ccpPerp(dir));
CGPoint A = ccpAdd(prevPoint, ccpMult(perpendicular, prevValue / 2));
CGPoint B = ccpSub(prevPoint, ccpMult(perpendicular, prevValue / 2));
CGPoint C = ccpAdd(curPoint, ccpMult(perpendicular, curValue / 2));
CGPoint D = ccpSub(curPoint, ccpMult(perpendicular, curValue / 2));- Calculate direction from p0 ( prevPoint ) to p1 ( curPoint )
- Calculate perpendicular vector and normalize it.
- Use perpendicular multiplied by line width to get coordinates for ABCD.
- prevValue / curValue are the widths of line segment start / end points.
Then you go through all the points you have and calculate each line segment.
But there is something more you need to do, if you would just calculate each of this vertices per segment, you would end up with disconnected segments:
 We don’t want that. To make it work let’s make each line C, D vertices the A, B vertices of the next segment, that way we will have proper connection’s between segments, generating full line.
if (connectingLine) { A = prevC;
B = prevD;
}Since we will need to store position and size in each point, we introduce new class for that:
@interface LinePoint : NSObject
@property(nonatomic, assign) CGPoint pos;
@property(nonatomic, assign) float width;
@end
Performance note
Since the user can draw as many lines as he want and they can be of arbitrary length, if we would draw them in each frame that would very quickly become performance problem. There is a simple solution for that i.e. draw each line segment we get into a texture, that way it doesn’t really matter how many lines user draws or how long they will be. At this point we would just get straight lines connecting our points:
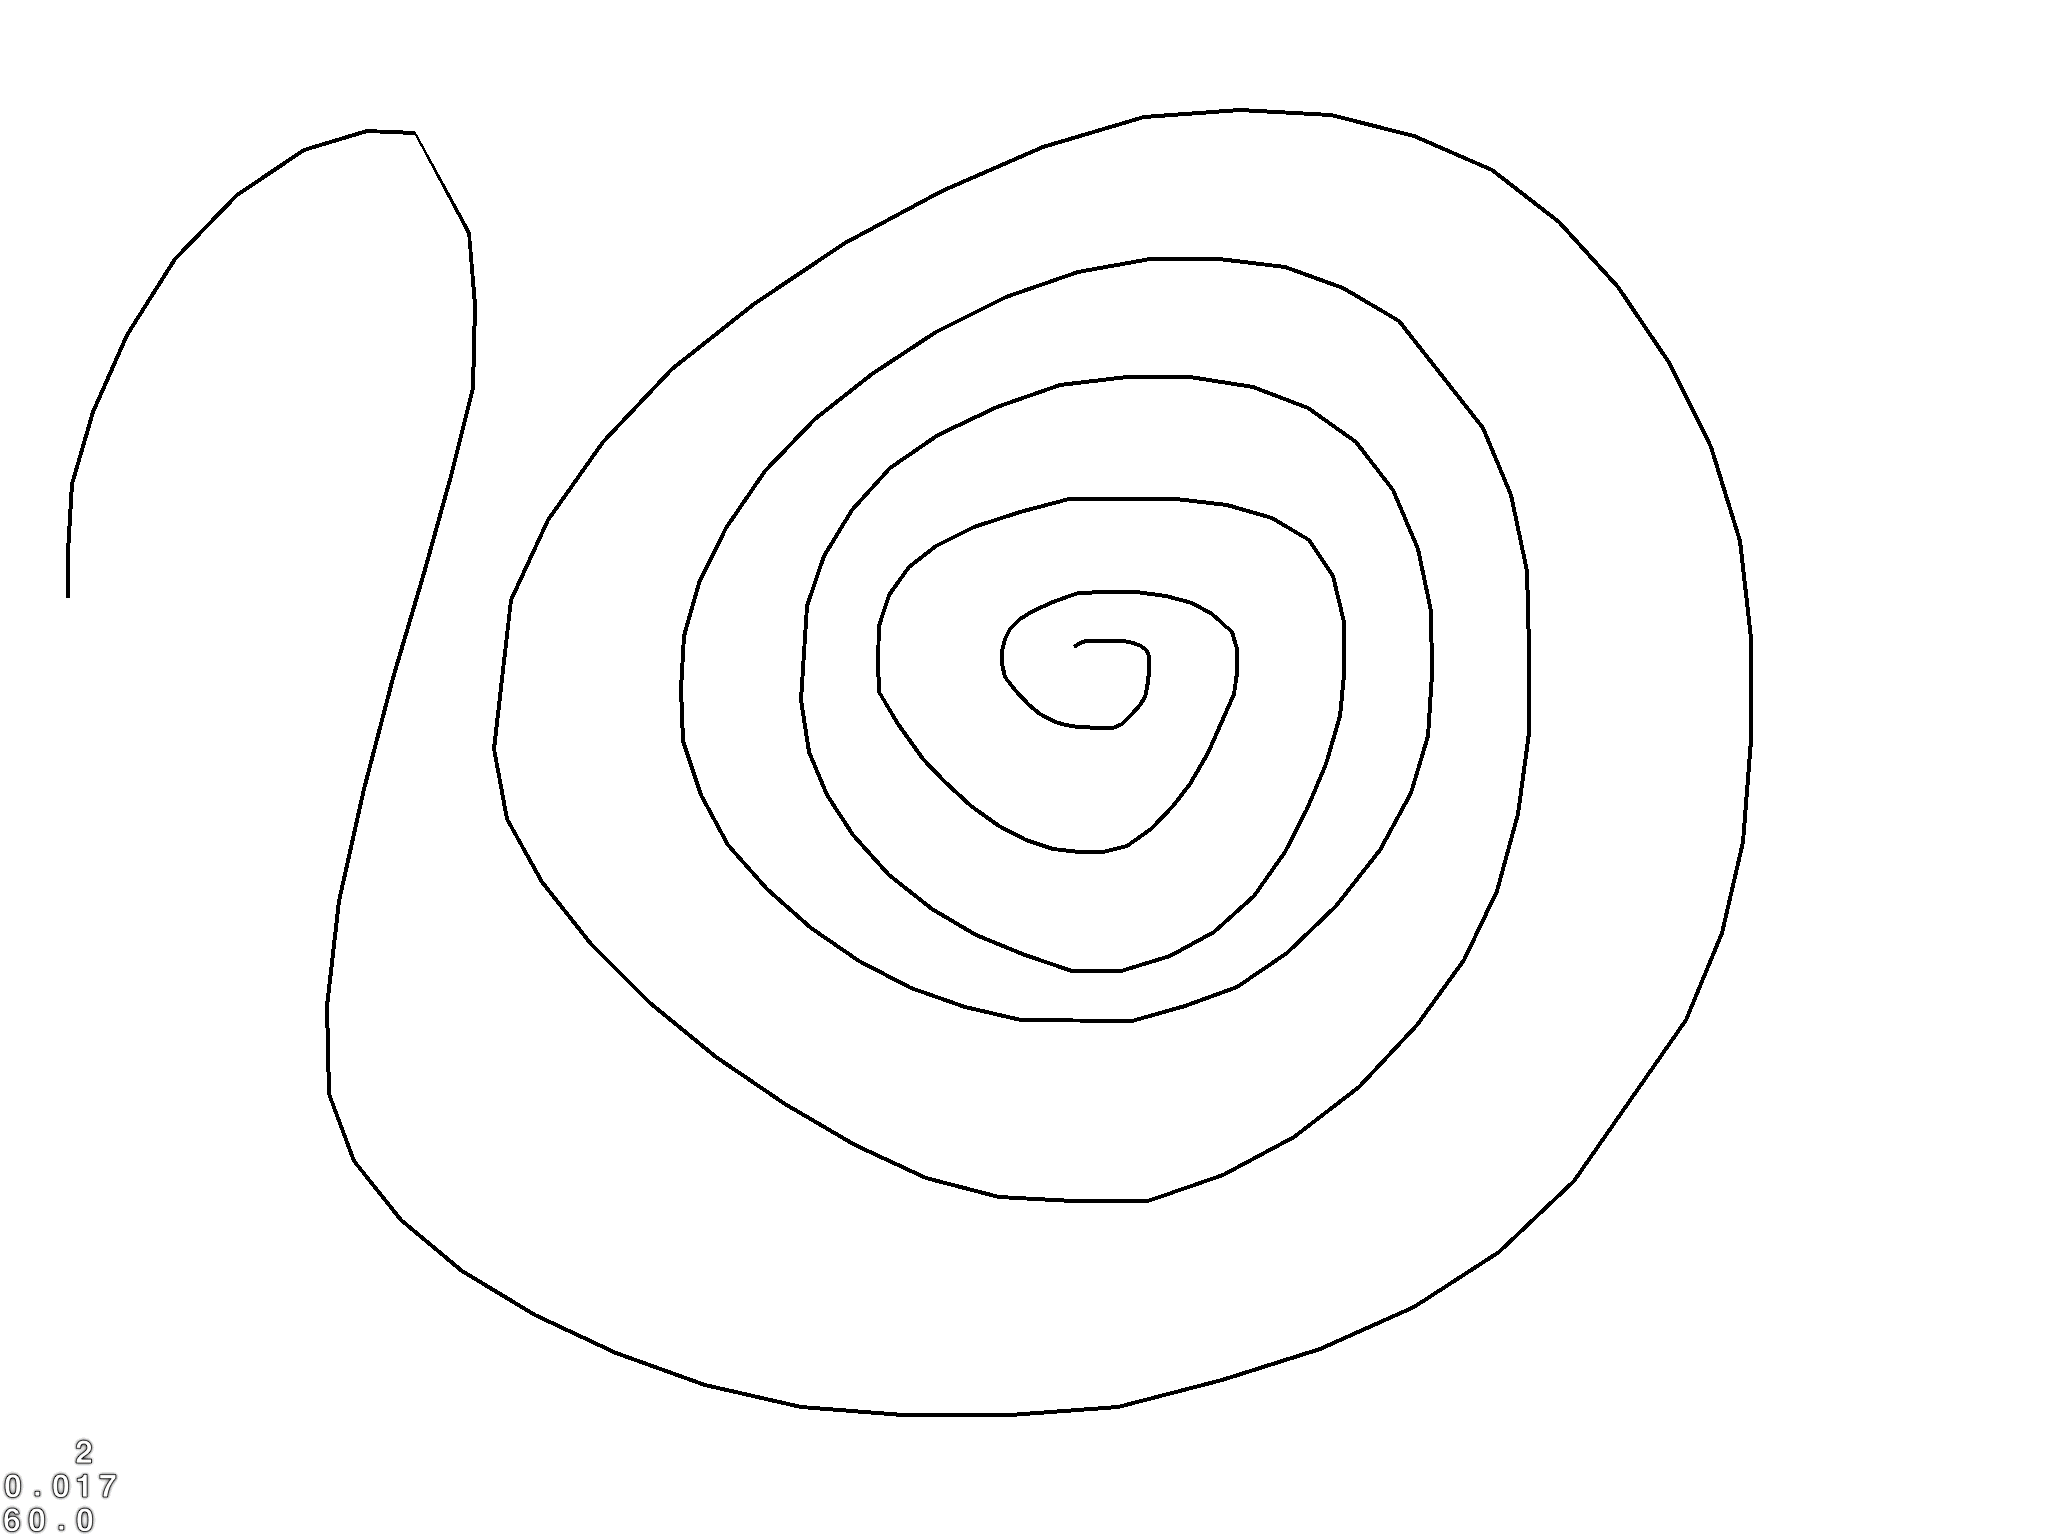 Nothing impressive, but this is just the first step…
Calculating width based on speed of panning
We need to have slim lines when the user is panning slowly and fat lines if he is moving very quickly, we can use UIPanGestureRecognizer velocityInView: method to recognize that:
- (float)extractSize:(UIPanGestureRecognizer *)panGestureRecognizer{
// 1
float vel = ccpLength([panGestureRecognizer velocityInView:panGestureRecognizer.view]);
float size = vel / 166.0f;
size = clampf(size, 1, 40);
// 2
if ([velocities count] > 1) {
size = size * 0.2f + [[velocities objectAtIndex:[velocities count] - 1] floatValue] * 0.8f;
}
[velocities addObject:[NSNumber numberWithFloat:size]];
return size;
}- We calculate length of velocity vector, then we adjust the value to fit between 1 and 40 pixels.
- By weighting new velocity value we will make nicer transition between sizes, instead of jumpy ones…
Remember that this function was result of trial & error, so feel free and play around with it if you wan’t…
Bending the lines
Research in the internet would suggest to use Catmull-rom algorithm for drawing smooth lines that we want. This splines are one of few splines that go through all control points you specify, it’s really good algorithm for some cases e.g. interpolating Camera position for cutscenes.
But for drawing I don’t believe that to be best solution because for me it has 2 major caveats:
- You need to simplify point’s list, so that points are not too close to each other or the algorithm won’t really yield good results.
- This algorithm works nice if you have a final set of control points, in case of drawing app you don’t have that, points will be added after user moves his finger, and we need to draw new lines immediately.
So contrary to what you can find in google, I decided to not use Catmull-rom for drawing app…
Quad curves require 3 points to calculate, we will be using our original touch points as control points and the start / end coordinates will be calculated as the point in the middle between our control points:
- (NSMutableArray *)calculateSmoothLinePoints{
// 1
if ([points count] > 2) {
NSMutableArray *smoothedPoints = [NSMutableArray array];
// 2
for (unsigned int i = 2; i < [points count]; ++i) {
LinePoint *prev2 = [points objectAtIndex:i - 2];
LinePoint *prev1 = [points objectAtIndex:i - 1];
LinePoint *cur = [points objectAtIndex:i];
// 3
CGPoint midPoint1 = ccpMult(ccpAdd(prev1.pos, prev2.pos), 0.5f);
CGPoint midPoint2 = ccpMult(ccpAdd(cur.pos, prev1.pos), 0.5f);
// 4
int segmentDistance = 2;
float distance = ccpDistance(midPoint1, midPoint2);
int numberOfSegments = MIN(128, MAX(floorf(distance / segmentDistance), 32));
// 5
float t = 0.0f;
float step = 1.0f / numberOfSegments;
for (NSUInteger j = 0; j < numberOfSegments; j++) {
LinePoint *newPoint = [[LinePoint alloc] init];
// 6
newPoint.pos = ccpAdd(ccpAdd(ccpMult(midPoint1, powf(1 - t, 2)), ccpMult(prev1.pos, 2.0f * (1 - t) * t)), ccpMult(midPoint2, t * t));
newPoint.width = powf(1 - t, 2) * ((prev1.width + prev2.width) * 0.5f) + 2.0f * (1 - t) * t * prev1.width + t * t * ((cur.width + prev1.width) * 0.5f);
[smoothedPoints addObject:newPoint];
t += step;
}
// 7
LinePoint *finalPoint = [[LinePoint alloc] init];
finalPoint.pos = midPoint2;
finalPoint.width = (cur.width %2B prev1.width) * 0.5f;
[smoothedPoints addObject:finalPoint];
}
// 8
[points removeObjectsInRange:NSMakeRange(0, [points count] - 2)];
return smoothedPoints;
} else {
return nil;
}
}- We need at least 3 points to use quad curves.
- Each time we need our current point and 2 previous ones.
- Calculate our middle points between touch points.
- Calculate number of segments, for each 2 pixels there will be one extra segment, minimum of 32 segments and maximum of 128. If 2 mid points would be 100 pixels apart we would have 50 segments, we need to make sure we have at least 32 segments or the bending will look aliased…
- Calculate our interpolation t increase based on the number of segments.
- Calculate our new points by using quad curve equation. Also use same interpolation for line width.
- Add final point connecting to our end point
- Since we will be drawing right after this function, we don’t need old points except the last 2. That way each time user moves his finger we can draw next segment.
Now we use this smoothed points for drawing, exactly as we did with the old ones… At this point the app generates something like this:
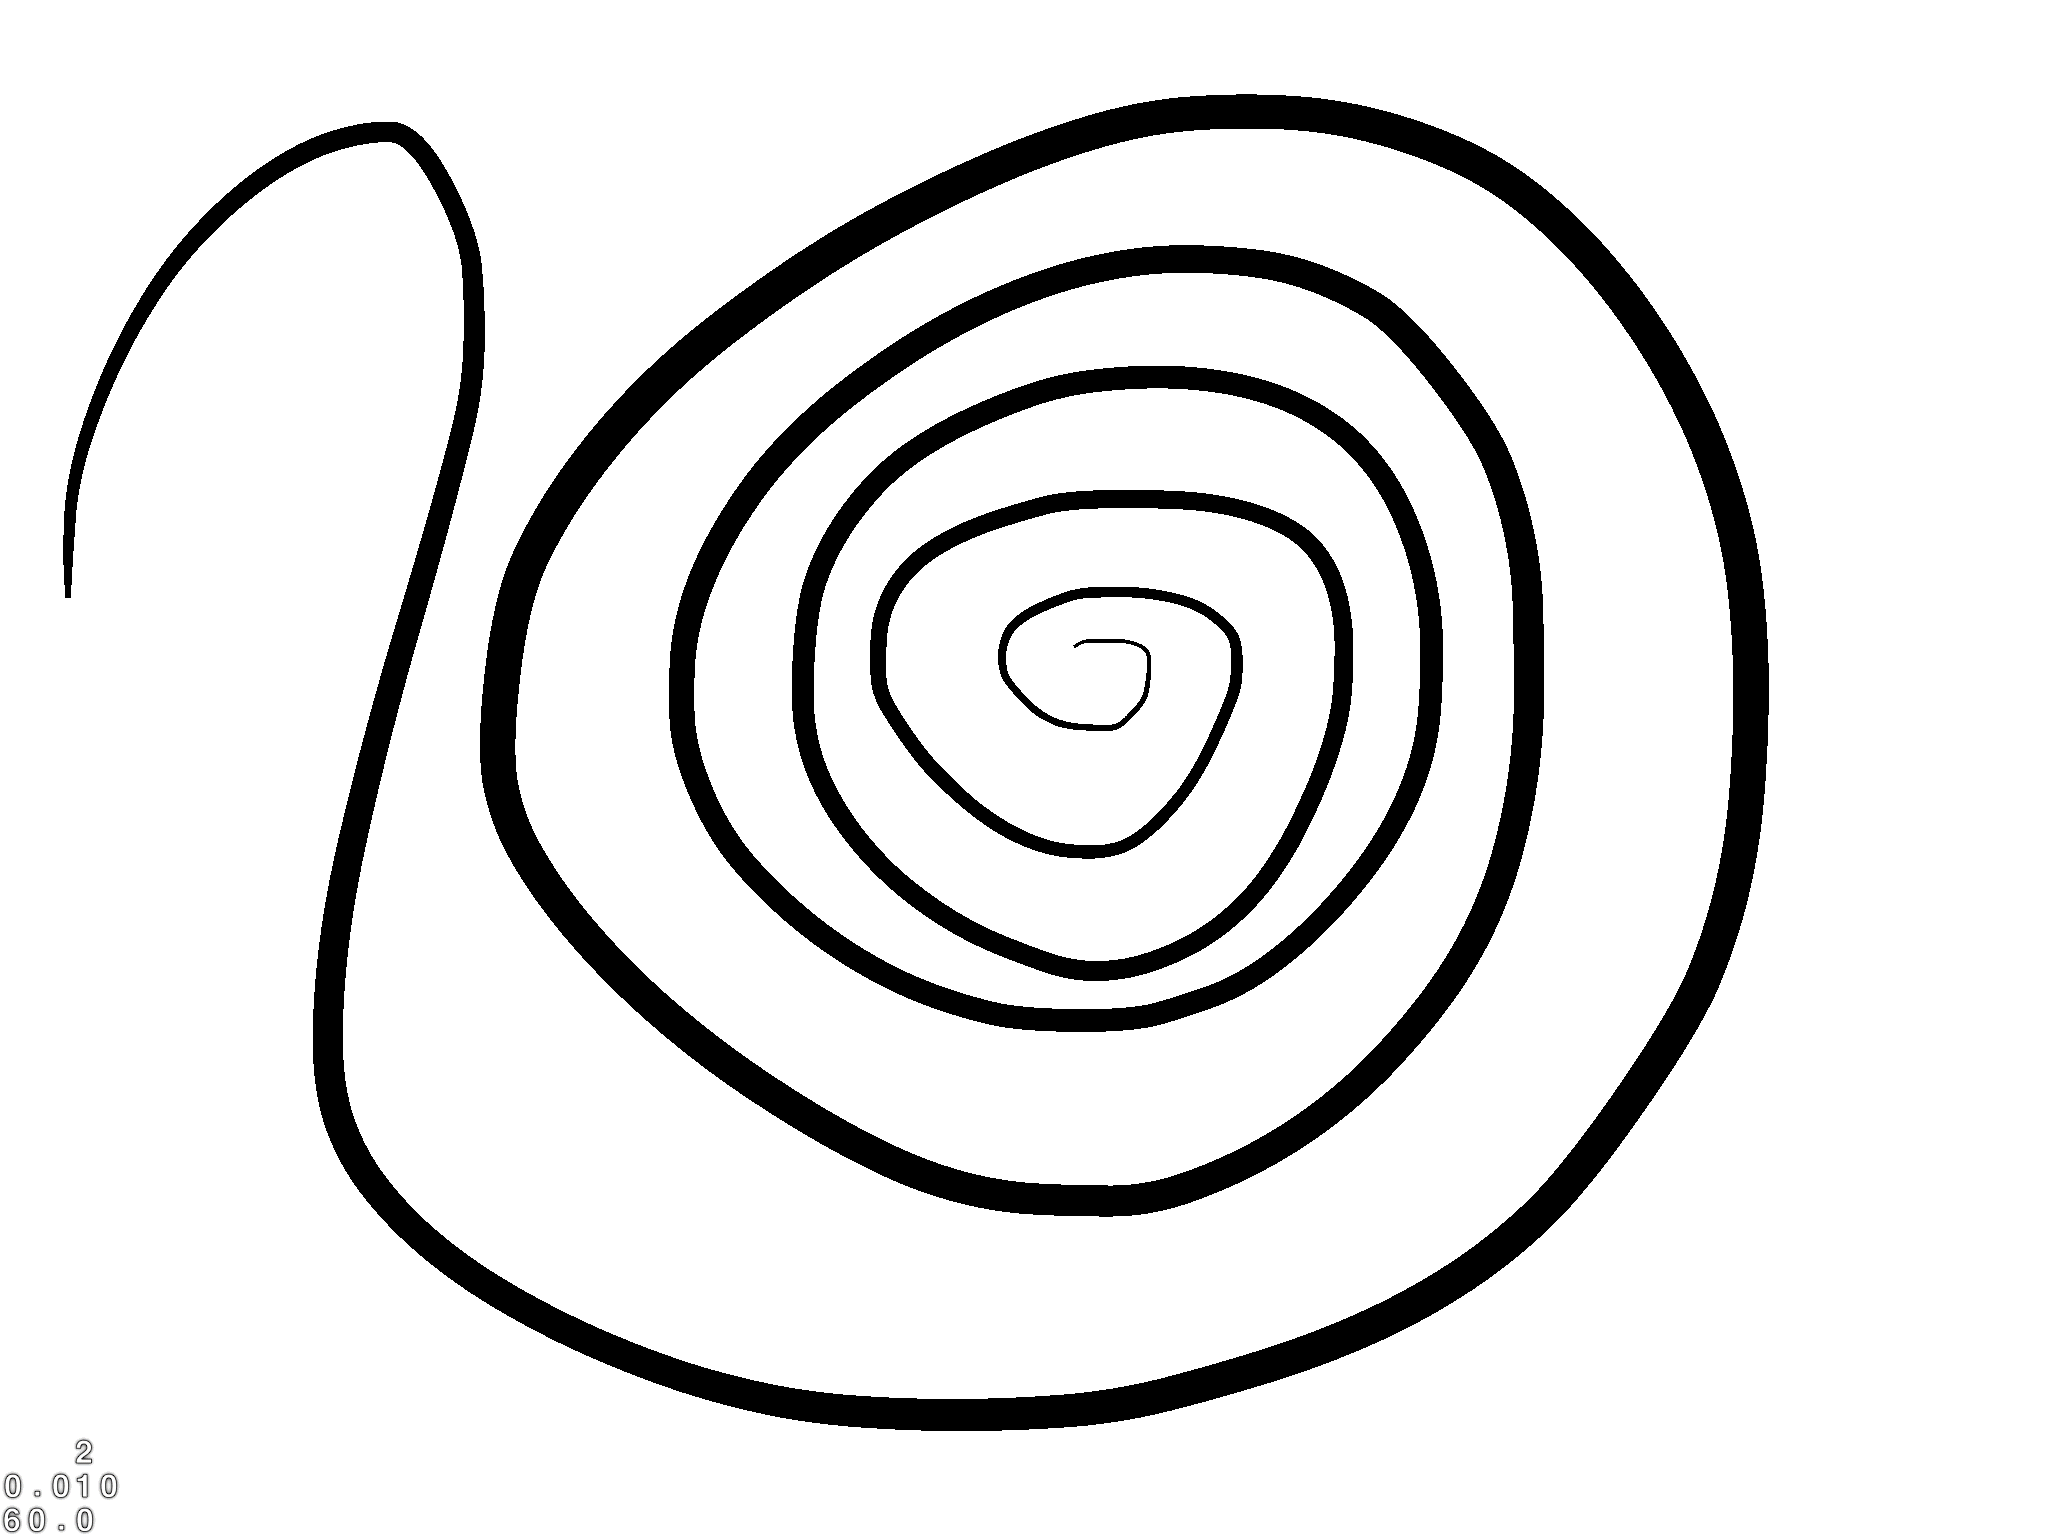 It start’s to look interesting, the lines are bending pretty nice ( we could play around with number of segments we used to smooth our lines to get even more quality ). There is quite a bit of aliasing visible here that doesn’t look nice, and also the start / end point of line don’t look nice…
Anti-Aliasing lines
Aliasing is pretty common problem in computer graphics, usually you could just use hardware Multisampling, cocos also supports that ( just set proper flags in CCGLView creation ). But this is overkill for our drawing, if we would enable multisampling here, not only we would get performance hit but that way we would also make rest of the app use multisampling… There is a lot simpler solution… Aliasing is so visible because we go from full color straight to an empty one ( black to white ) in an instant. So let’s not do that, let’s make the color linearly interpolate from full color to an empty one. We just need to modify alpha value from 1 to 0 over some range of pixels and hardware blending will do the rest for us… Let’s create additional triangles at the edges of our line and modify alpha there:
CGPoint F = ccpAdd(A, ccpMult(perpendicular, overdraw));CGPoint G = ccpAdd(C, ccpMult(perpendicular, overdraw));
CGPoint H = ccpSub(B, ccpMult(perpendicular, overdraw));
CGPoint I = ccpSub(D, ccpMult(perpendicular, overdraw));So we just expand even further from our fat line by the amount of overdraw we want, this vertices will have alpha value = 0 so that linear interpolation occur. Then from this vertices we generate 4 overdraw triangles: FAG, AGC, BHD, HDI Since lines can be drawn over each other, we need to make sure our overdraw doesn’t render over full lines, or we would get artifacts… To get correct blending between overdraw / full lines I decided to use GL_ONE, GL_ONE_MINUS_SRC_ALPHA, use pre-multiplied blending (read why it’s better to use it here: http://blogs.msdn.com/b/shawnhar/archive/2009/11/06/premultiplied-alpha.aspx ):
glBlend(GL_ONE, GL_ONE_MINUS_SRC_ALPHA);Final touches
Last thing we need to do is make sure our start / end line points are circular and smooth instead of hard cut off. But we can’t draw full circles at end points or the overdraw alpha would add up and it would look weird, instead we will draw just the half circle placed exactly at the last or first point of line. We need to calculate the exact angle we should start our circle fragment from,
 As you can see here, we need to figure out what angle of our circle is pointing at C ( Circle is not rotated, it’s just placed at the end point ) , again we can use Perpendicular to line direction to calculate that. I like dot products, so let’s use them to calculate the angle.
CGPoint perpendicular = ccpPerp(aLineDir);float angle = acosf(ccpDot(perpendicular, CGPointMake(0, 1)));
float rightDot = ccpDot(perpendicular, CGPointMake(1, 0));
if (rightDot < 0.0f) {
angle *= -1;
}As you probably remember from school the value of dot product of normalized vectors is equal to cos angle between them, we will calculate dot product between the perpendicular to line direction and vector (0, 1). Since we also need to take into consideration the direction of our angle, we should also calculate dot product between perpendicular and right vector, then according to that we can modify the angle. When calculating aLineDir make sure that for start of the line you reverse the direction. The final result of our algorithm should look like this:
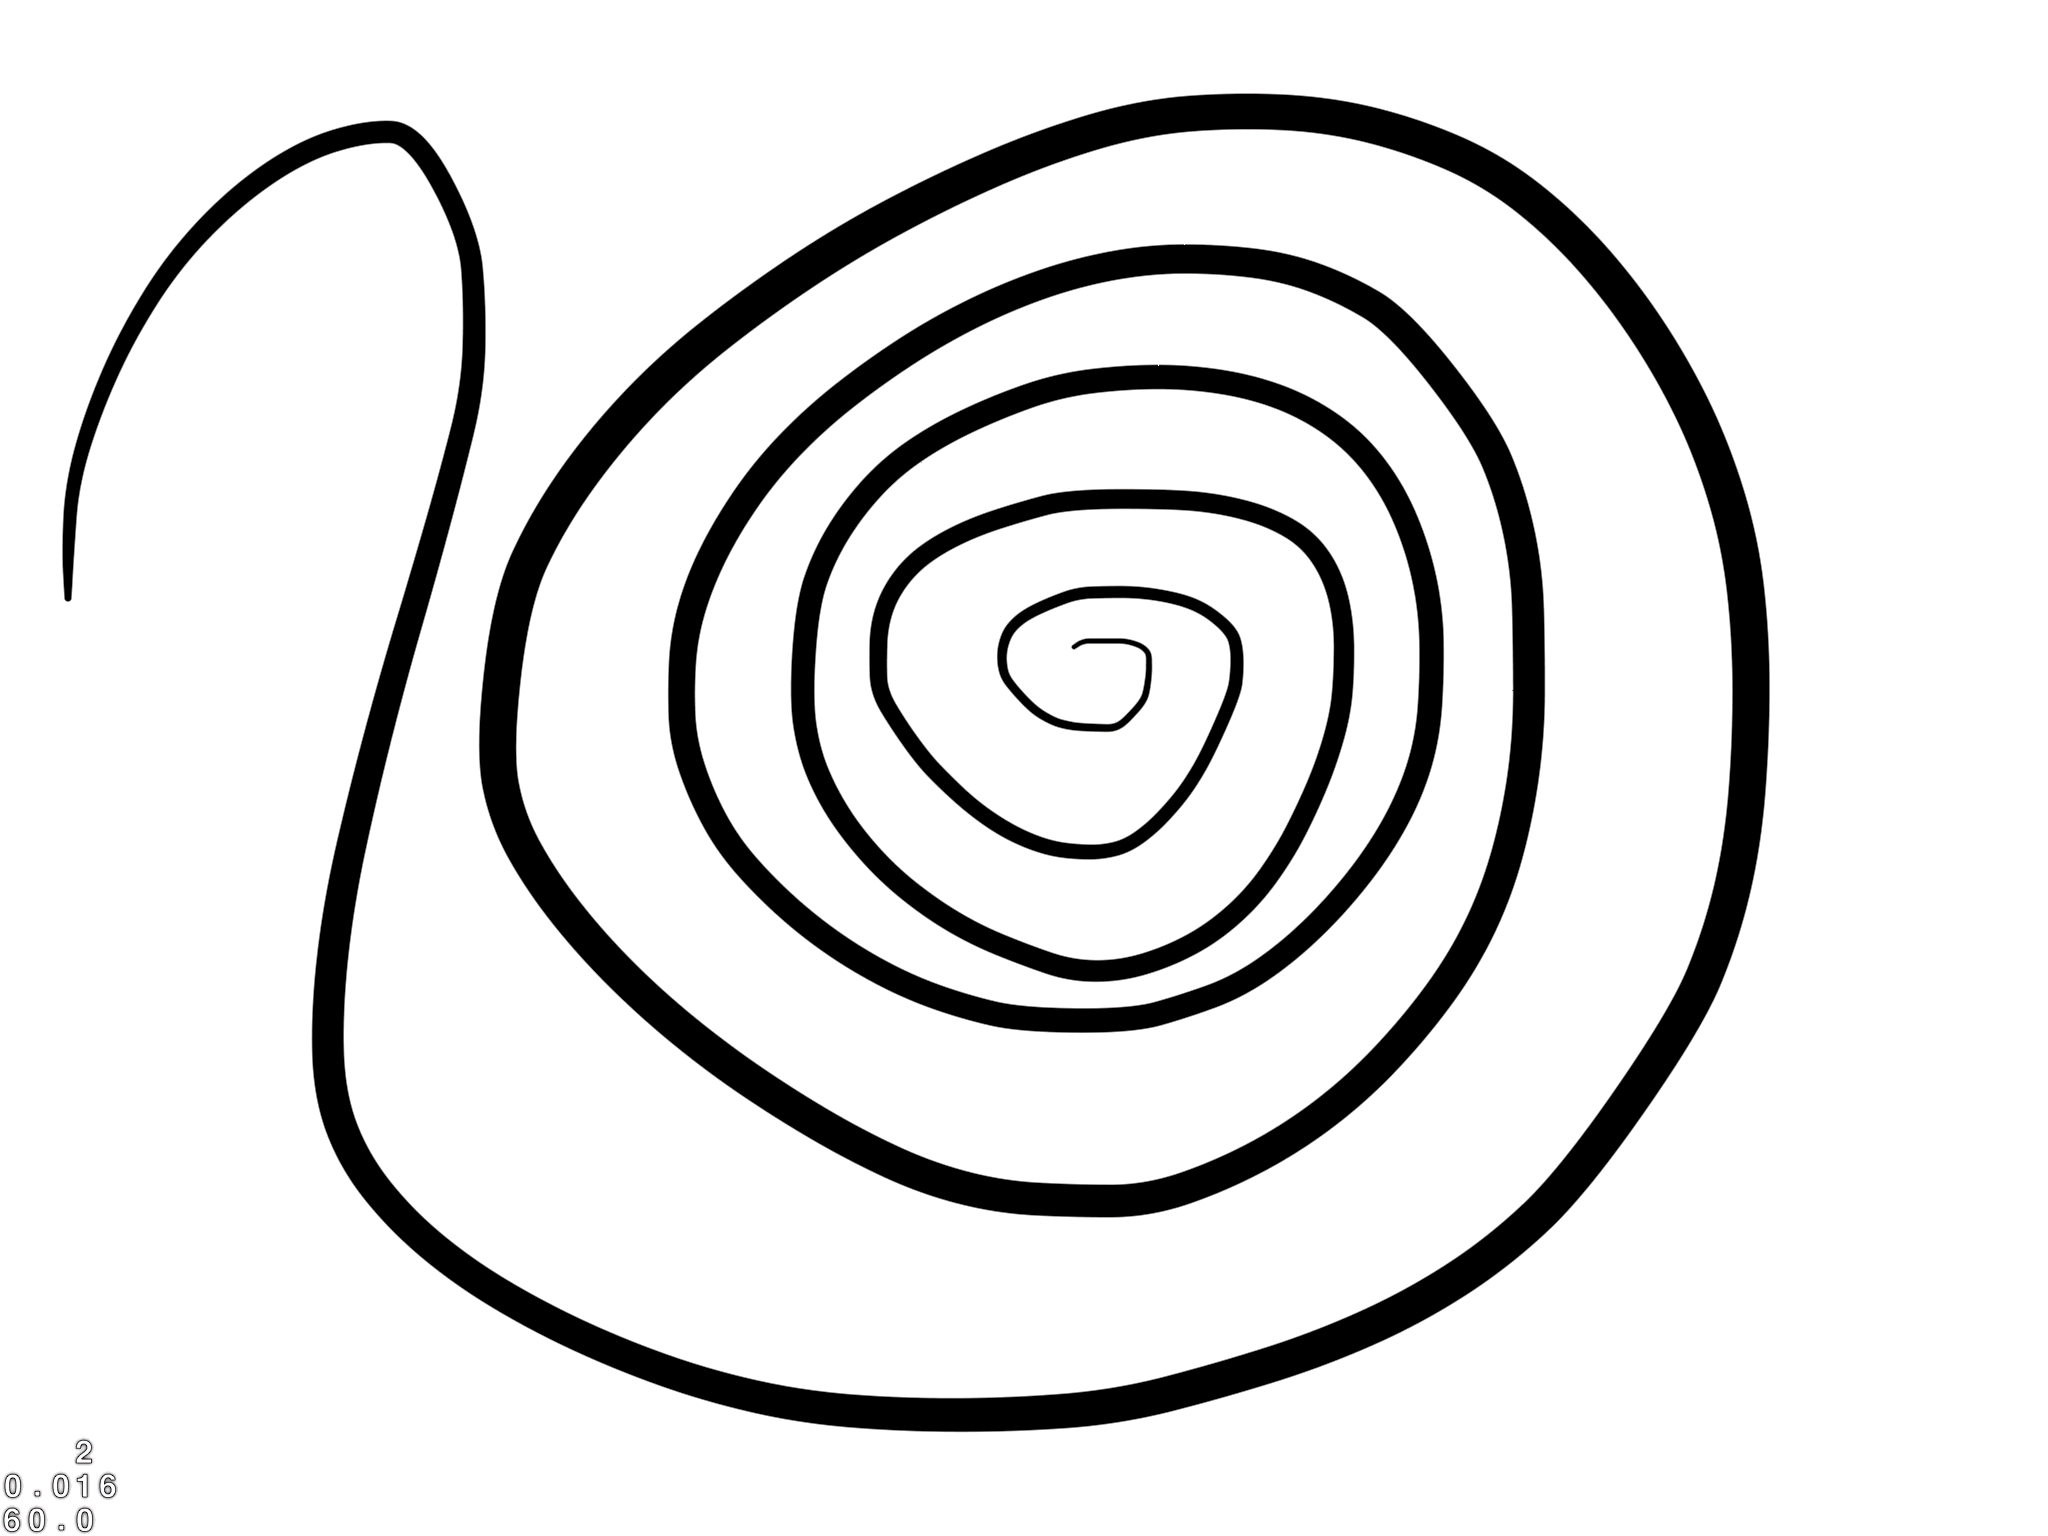
Conclusion
At this point we have a really nice drawing application.
I decided to share my solution because I couldn’t find a complete one shared by anyone else…